Showing posts with label before and after. Show all posts

Monday, April 15, 2013

Let's finish a basement: Getting started

My family has decided it's time to finish our basement. When we bought the house we new this would be on our project list. We've lived in our home for almost 6 years and now that our kids are getting bigger it's getting a little cramped. We figured the easiest way to add space is to make the space we already have livable.

First things first. My husband and I are DIY-ers. We are not professionals, but we do have professionals in our family who have all the answers to our many questions. Since we are tackling this basement remodel together and it's our first big project, we have a ton of questions.

Next sit down as a "team" and come up with a design. We (my husband & I) scoured the Internet looking for a website that would allow us to design our own floor plan and we wanted it to be free. We found a couple, but the one we decided to use for this project was  www.floorplanner.com

www.floorplanner.com


Floor planner is a easy to use site that allowed us to enter our measurements and play around with wall placement. As you can see it also allowed us to put furniture pieces to show the flow of the rooms.
www.floorplanner.com


After we were finished measuring all the walls and drawing it to scale we waited. And waited. We saved our $ and waited some more, until finally we had a budget in place to work with.

Follow me as I take you on our journey of finishing a basement into a family entertainment area.

Next up: sealing cement and painting brick. Oh what fun!

Thursday, February 3, 2011

A new place for spices...

This post was prompted by my husband's comment the other day about my Christmas gift from him- "I can't believe you haven't posted about your spice rack yet."

So to show him some love, here you go. :-x

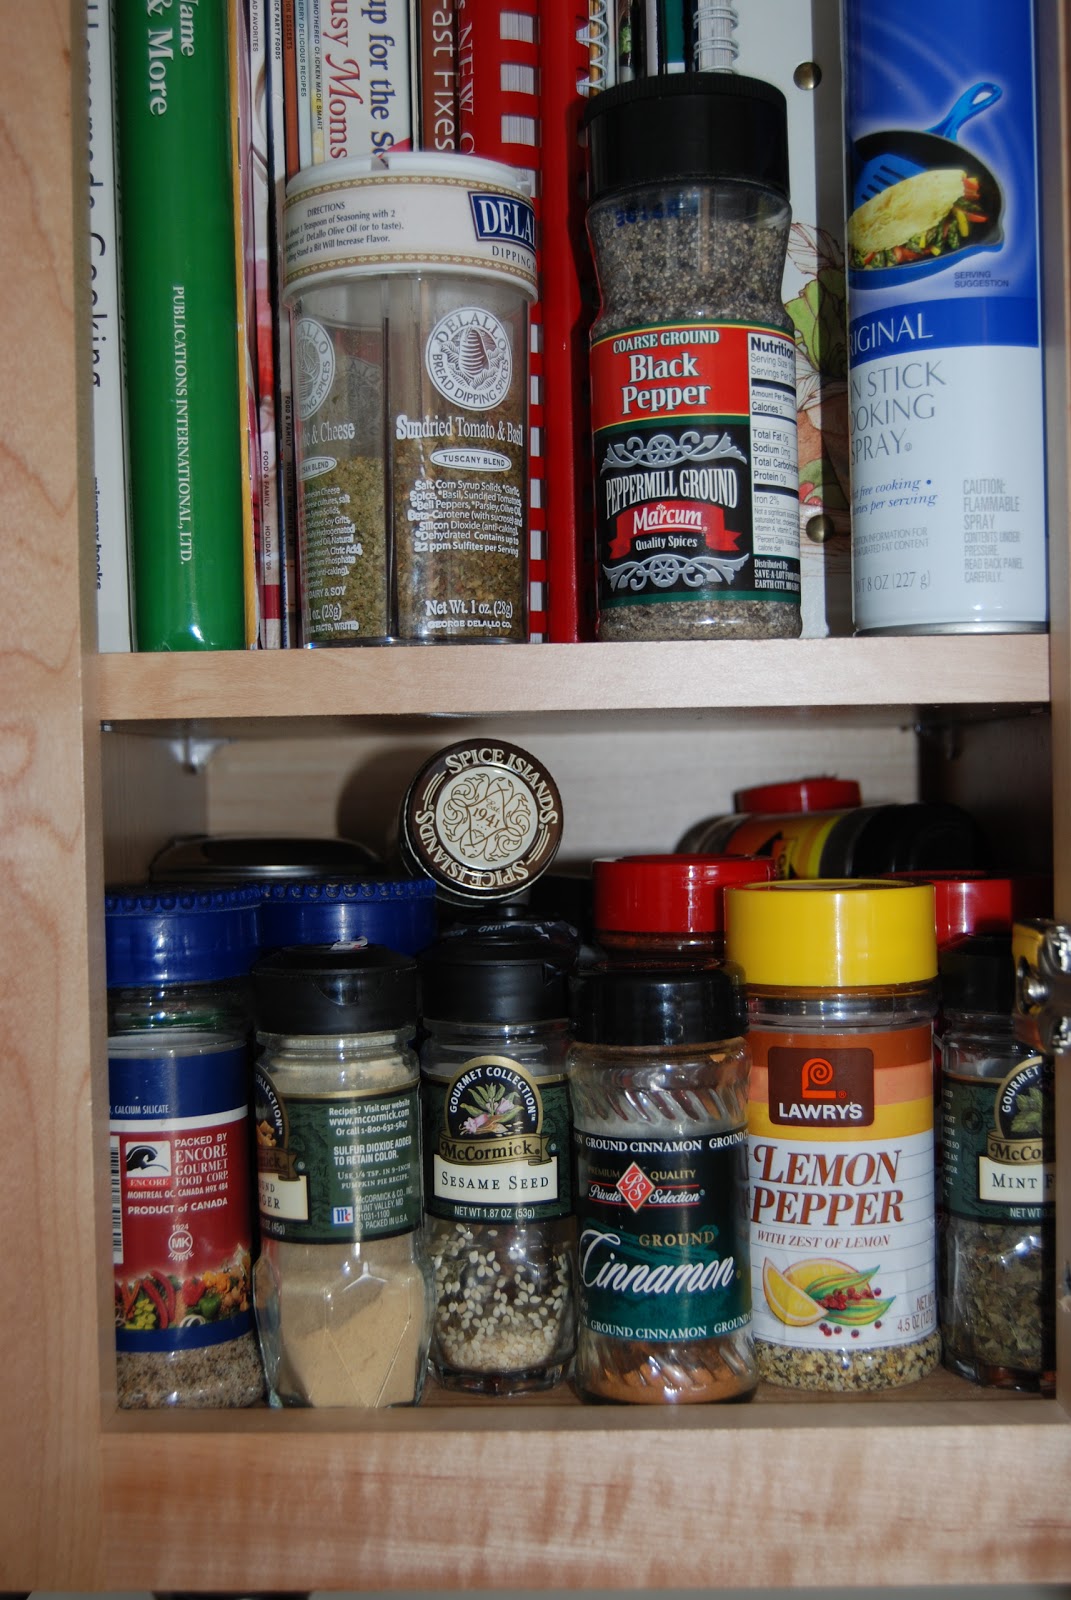
Here is the before shot of my "spice cabinet"

Packed in nice & tight and I ALWAYS needed the one in the back. So I would have to unload half of the spices in order to get the one I wanted.

After hearing me complain about this for a while he told me to pick out a spice rack for Christmas. Well, that was easier said than done. I wanted a spice rack that didn't take up too much space, could fit on that shelf if I wanted it to, came with empty-not labeled containers, and held more than 24 spices... the search began. I thought I would never find one that would fit the bill.

I came across a couple that I liked but didn't love. And by now you know me-I don't like to spend a lot of money on something unless I absolutely LOVE it.

Then I came across this...it was what I was looking for.
But even on sale-NO WAY!-this was well out of my price range.

Then we got to brainstorming...what about regular test tubes and a test tube holder. And that is just what we did.


We ordered the biggest test tube we could that would fit in the holder.


Josh made labels on the P-Touch while I filled the tubes. I wanted clear labels, but they pretty much disappeared when we put them on. So...


I also made a dummy sheet to go on the inside of the cabinet door.


So far it works great. I love the industrial look so much that I don't think it will end up in the cabinet after all.


Also, I have plenty of test tubes left over. I think I might double up on some of the more frequently used spices. And maybe I'll add some sprinkles and sugars from my baking supplies as well. Let me know if you would like the website he purchased these from and I'll post an update. 

PS. If you were paying close attention to the pictures you may have noticed the kiss on my thumb. That was done with my Konad set. You can find the tutorial here. My nails are ready for V-day.

UPDATE: The website that Josh used to order everything was www.lcmlab.com
17 mm Brushed Aluminum Test Tube Rack
16x150 mm Pyrex Glass Test Tubes - Single
Cork Stoppers (Size 5) - Single 
Total cost about $50

Monday, January 24, 2011

Changing Table turned Entertainment/Media Center

Brooke over at All Things Thrifty is constantly doing projects with black glaze. I have admired her creations for quite awhile. I wish she lived closer, I would totally save my money to hire her to decorate my home. Seriously. Go check her out. She is A-Mazing! 

I finally had a piece of furniture that I could try her techniques out on. Remember this?

We were no longer using this dresser from the girls' room and I didn't want to get rid of it. (It's actually a changing table, but we never used it for that.) I decided to paint and glaze it so we could use for our television. This is how it happened...


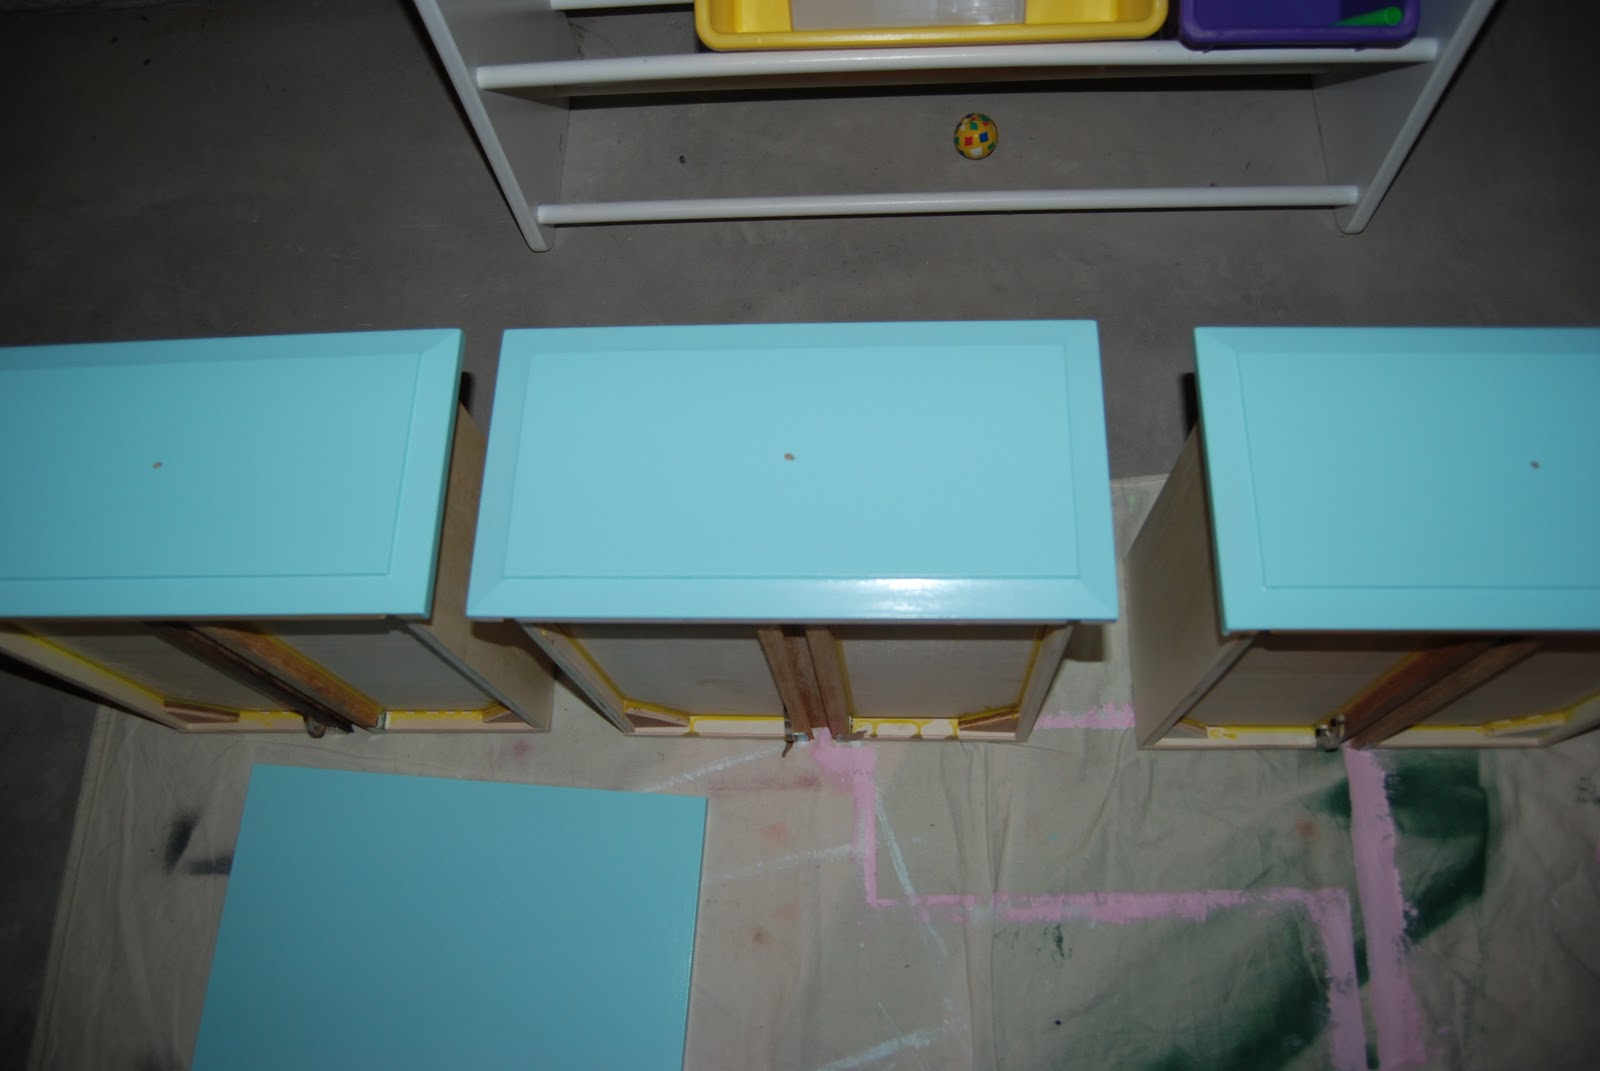
We carried it down to our dungeon basement to be taken apart and painted. Notice I'm using the skills I learned from the play kitchen. Here, let me give you a closer look.


I used a hole saw to cut holes for the wires. 


We painted everything Dutch Boy "Atonement" because we had to brush/roll it. For those of you spray painters out there it is an exact match to Krylon "Ocean Breeze". This is after 2 coats of paint. It's pretty bright without the glaze. But wait, it's gets better.


Here is a close up of the glaze. I only used one coat of glaze. Sherwin Williams tinted their glaze black for me, (thanks J).

Look at all the storage we now have.


We still have two drawers that are empty. I think I might put some magazines in one of them.


So what do you think? 

Now that I know how easy it is to do I want to glaze the dining room table and the kitchen cabinets. Right now the cabinets are natural maple. I think it would give them a little more character. We bought a quart each of the paint and glaze. We have a little paint left, but it doesn't even look like I touched the glaze. I was pretty amazed at how little was used. We also, changed out the knobs.

Paint: 7.00
Glaze: 10.00
Knobs: 12.00
Total cost: $29.00 

Oh yeah. I'm entering a another contest too. Maybe this one will make it, since the play kitchen didn't.


Button Redo

Tuesday, December 28, 2010

A little something new for Mom to wear

I recently came to the conclusion that I didn't have anything to wear for the holidays. So I made a new top. Total cost $2.50. How did I do it? 

I took this:
A tank from Salvation Army (sweater knit) and some material I had left over from a dress

And turned it into this:

Here is a back view:

Anthropologie, The Buckle, and a few other well known overpriced stores are selling ruffled cardigans like hot cakes. So instead of buying one for $68 (sale price at Anthro.) I made mine for $2.50. What do you think, leave a comment and let me know. 


Monday, December 27, 2010

Happy Holidays!

I cannot believe that Christmas 2010 is over and the New Year is only days away. Our Christmas was wonderful, how was yours? (Or the holiday you celebrate this time of year.) Christmas morning was so much fun. The girls couldn't wait and neither could we (me or the hubster). I think the girls were more excited to exchange the gifts they've been trying to sneak a peek at, than the ones from Santa. Because of this we ended up doing the family gifts first and this surprise was part of the family gifts. A loved it so much that when we wanted to open Santa gifts, she kind of-but not totally-threw a tiny fit. M and C thought it was pretty awesome as well. Everyone that came to visit over the weekend was given a personal tour of the playroom and it's new addition by one or all three of the girls. So as promised, here is the post on this pretty cool Christmas gift. Sorry it is kind of long.

Here is a little recap of what I did up until Christmas in order to be ready for the surprise.

Crocheted Cupcakes-pattern Amigurumi World: Seriously Cute Crochet

Crocheted Apples-pattern Amigurumi World: Seriously Cute Crochet


$5.00 Faucet-Habitat for Humanity REStore

Free Entertainment Center-from soon to be brother-in-law

I took all of the above and a little more and turned it all into this.
Play Kitchen-Total Cost: $47.18 supply list at end of post.

Here are a couple pics I used for inspiration, but was NOT going to pay that much for.
Pink Vintage Retro Pretend Play Kitchen$169.99-Amazon
Pink Retro Kitchen and Refrigerator $250.99-Amazon

 
$249.00-$699.00 PB Kids

So...
First, I needed some tools. I needed a jig saw for the sink hole. And since I have wonderful friends, I was able to borrow one. Once I had the jig saw I needed a lesson on how to use it. So...called up dear dad and bribed him with a secret recipe. It worked. He was over here in 2 days and we made the exchange-jig saw lesson for secret recipe-muwhahaha. He must have really wanted that recipe, because as you can see I also learned how to use a holesaw.


Second, we needed to take the entertainment center apart and prime it with adhesion primer.

I had some luan board cut to size at Lowe's for free. I need two pieces: one to replace the glass in the door, and the other to cover the hole behind where the TV used to be.
We then painted everything pink. With the exception of the two small doors and the piece of luan for the glass replacement-these later became "stainless steel appliances".


I used a stainless steel bowl for the sink. Deadbolt locks became the knobs for the burners. Old PlayStation-1 games flipped upside down were used as burners, I painted the center red-so I guess they're always on and ready to cook up something tasty.


We changed the way the doors were hung so that they were more realistic. All hardware got changed from antique gold to brushed nickel.


There is a pantry on one end, which got filled with all the play food after the picture was taken.


And a refrigerator on the other end. This is also stocked and ready. I used a mirror for the "window" and we also put in an old wired telephone.


Supply List:

Entertainment Center-0 (given to us from soon to be brother-in-law)
Material for valance and small curtain-0 (leftover scraps from the curtains in playroom)
Primer-$10 (Sherwin Williams)
Pink Paint-0 (leftover from my craft closet-Sherwin Williams "Childlike")
Hinges-$2.94 (Lowe's-2pk for $1.47)
Burner Knobs aka Deadbolt Locks-$1 (Habitat ReStore-.25/each)
Handles and Knobs-$3.25 (Habitat ReStore)
Burners-0 (Playstation1 games from box in basement)
Sink-$4.99 (Meijer-mixing bowl)
Faucet-$5 (Habitat ReStore-cleaned up with Coca-Cola)
Mirror-$3 (Habitat ReStore)
Glue-0 (E6000 on hand in my stash-used to glue down burners)
Epoxy-$4 (Target-what we used to hang the mirror)
Silver Spray Paint-$3 (Lowes-"Aluminum")
Black and Red Paint-0 (Acrylic paint in my stash-used for burner centers and oven door)
Luan Board-$10 (Lowes-cut for free)
Grand Total: $47.18 savings of at least-$120 not too shabby :)

Have a great day!