Showing posts with label tutorial. Show all posts

Monday, January 24, 2011

Changing Table turned Entertainment/Media Center

Brooke over at All Things Thrifty is constantly doing projects with black glaze. I have admired her creations for quite awhile. I wish she lived closer, I would totally save my money to hire her to decorate my home. Seriously. Go check her out. She is A-Mazing! 

I finally had a piece of furniture that I could try her techniques out on. Remember this?

We were no longer using this dresser from the girls' room and I didn't want to get rid of it. (It's actually a changing table, but we never used it for that.) I decided to paint and glaze it so we could use for our television. This is how it happened...


We carried it down to our dungeon basement to be taken apart and painted. Notice I'm using the skills I learned from the play kitchen. Here, let me give you a closer look.


I used a hole saw to cut holes for the wires. 
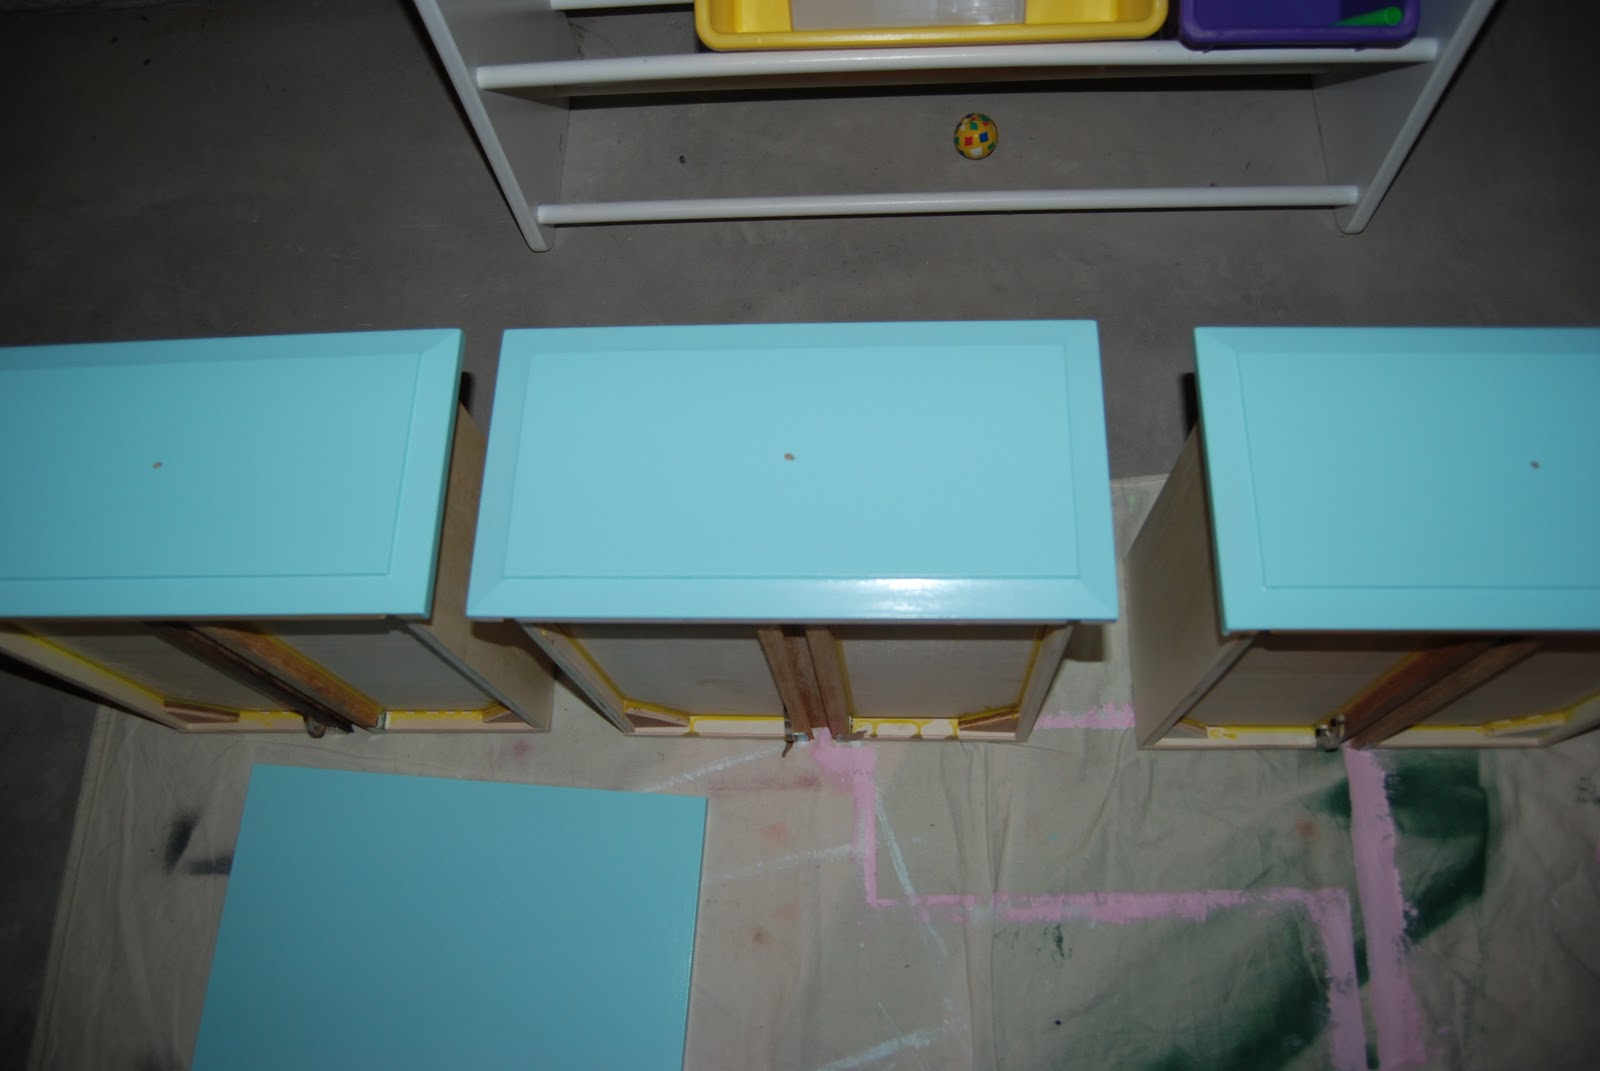


We painted everything Dutch Boy "Atonement" because we had to brush/roll it. For those of you spray painters out there it is an exact match to Krylon "Ocean Breeze". This is after 2 coats of paint. It's pretty bright without the glaze. But wait, it's gets better.


Here is a close up of the glaze. I only used one coat of glaze. Sherwin Williams tinted their glaze black for me, (thanks J).

Look at all the storage we now have.


We still have two drawers that are empty. I think I might put some magazines in one of them.


So what do you think? 

Now that I know how easy it is to do I want to glaze the dining room table and the kitchen cabinets. Right now the cabinets are natural maple. I think it would give them a little more character. We bought a quart each of the paint and glaze. We have a little paint left, but it doesn't even look like I touched the glaze. I was pretty amazed at how little was used. We also, changed out the knobs.

Paint: 7.00
Glaze: 10.00
Knobs: 12.00
Total cost: $29.00 

Oh yeah. I'm entering a another contest too. Maybe this one will make it, since the play kitchen didn't.


Button Redo

Friday, January 7, 2011

Easy and Fun Nail Art

Before I start today's tutorial I am going to tell you about the minor heart attack I had last night.

I was grabbing my camera bag off of my bed thinking it was closed-because I always close the bag when I'm not using the camera-and started to walk out of my bedroom. All of a sudden I hear CRASH! Oh crap...Crap...CRAP! Right away I knew what the sound was. The camera crashing to the floor, after bouncing off the bed. Oh no... no, no, no... this cannot be happening. (Now, this would be pretty stinky no matter what camera it was that took the dive. But it wasn't our cheaper point and shoot-this was our Nikon D80 digital SLR-oh NO!) I turned to pick it up and all I hear is rattle, rattle, crinkle, crinkle-the sound of broken glass/electronics. By this time the hubs is in the bedroom too, he takes the broken camera into the kitchen to get a better look at the damage. He manages to get the cover off of the lens-it was kind of jammed-and all we see is broken glass. Did I start crying? Surprisingly, no. But believe me, I almost did. I vacuumed all of the glass-just in case it wasn't the lens that was in pieces I didn't want to risk scratching it. Guess what! It wasn't the lens, it wasn't the camera. I did a couple of test shots with it and it still works. (Huge sigh of relief!) All that broke was the UV protective filter that goes over the end of the lens! Thank you, thank you, THANK YOU Lord! So needless to say... I probably have a couple more grey hairs because of this, but I have to say I slept better than I probably would have knowing that I don't have to replace it.

On to the tutorial...


I recently bought a nifty little contraption for doing my own nail art at home. You may have seen them in a kiosk at the mall. It's called Konad. Yeah, I'm the sucker who always gets stopped by those sales people, and I don't know how to tell them no. Anyway, I'm pretty happy I bought it. The girls and I have been having a blast doing our fingers and toes.

Here's what you'll need:


(Konad sells special polish but Sasse's Stamping Stampede has a list of normal polish)
polish remover
q-tips and cotton balls


Start with a base coat, any color will do. If you have wiggly toes and get some on the skin it doesn't matter, the stamper will also get some paint on the skin too, you'll clean it all up at the end.


Put some polish on the design you would like.


Using the scraper, scrape off the excess.


Pick up the image with the stamper. (Please pay no attention to my hands, I always forget to make myself stuff, like Holiday Hand Scrub.)


Stamp the design onto the nail. Continue until all nails are to your liking.


Cute little zebra stripe toes.


Adorable little houndstooth and polka dot fingers.


Now wasn't that fun?! Not only do we have fun doing this, it will save me and the hubs loads of green since we won't have to go to a salon. There are 4 females in our house, can you imagine the salon bill that could potentially be? Yowza!


Thursday, December 30, 2010

Inexpensive Groomsmen Gift

For those of you who don't already know, my sister-in-law is engaged and the wedding is set for June 25, 2011. I'm so happy for her, and couldn't be more excited-weddings are "right up my alley".

Every bride has a budget and sometimes it can be hard to stay within said budget. I'm here to help with that problem whenever possible...

What Groomsmen doesn't like a good beer mug with his name on? The one pictured above was only $2.50 to make. OR The bride and groom could have ordered them online for about $10-15 each plus s & h. Let's save some money, shall we?

Here's what you'll need:


Beer Mugs from the Dollar Tree-these are nice and heavy and no one will be the wiser
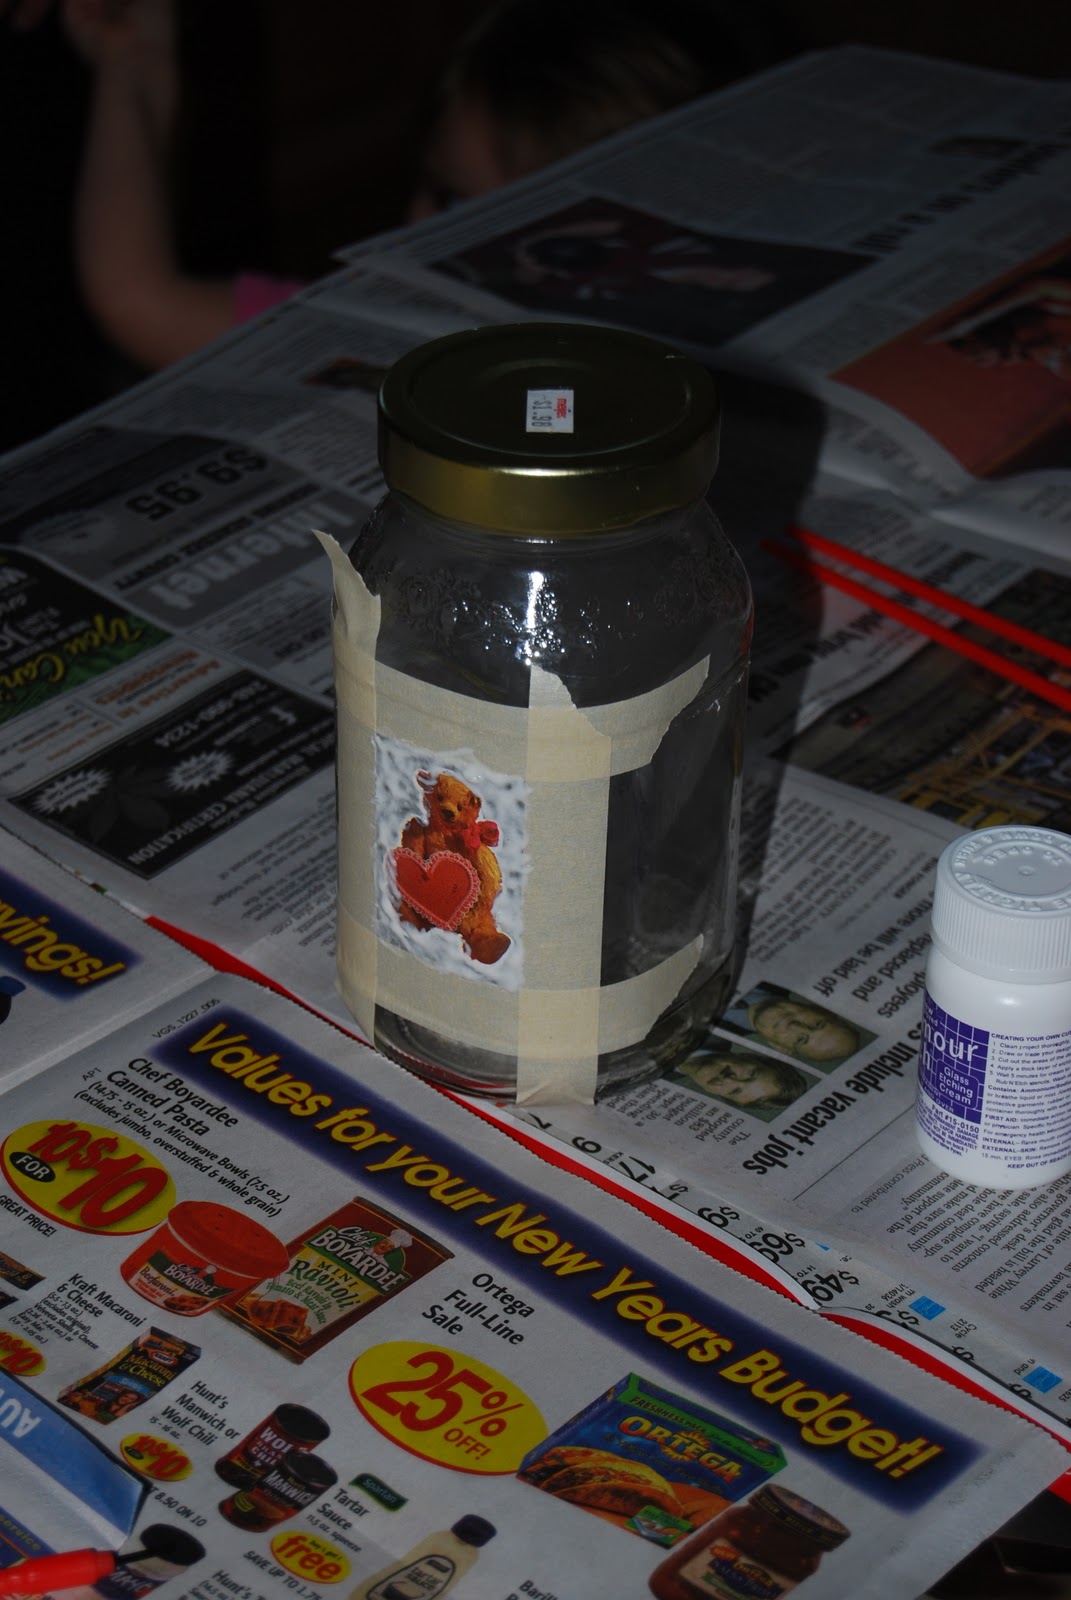
Glass Etching Cream-the small container will do, it doesn't take much
Paint brush to apply cream
Stickers and Masking tape to make design on mugs
Rubber Gloves
Newspaper to protect work surface


Do a couple of tests on a jar from the recycling bin before moving on to the real thing. We used a spaghetti jar. For the design we used some old stickers and masking tape.


Once you're happy with the results from your test runs, place the stickers on your mug. We used the negative part of the stickers so that the etched part would be the letters. Press the stickers down good and tight so that no cream will seep underneath.


Using the paint brush, dab a bit of etching cream on the glass. Be careful to only put the cream where you want the glass to be etched. We decided that dabbing it on instead of brushing it on gave us the end result we wanted. When it was brushed you could see the strokes.

The etching cream said to wait 5 minutes before rinsing it off with water. We waited 10 minutes because it left a more even etch. This was something we figured out in our test runs, results may vary so make sure you do the tests.

While I was rinsing off the glass in running water it helped to rub it a bit. (Make sure you're wearing the rubber gloves or you could etch your fingers as well.) I also had hot soapy water in the opposite sink basin to help soak off the stickers after the etching cream was rinsed away. 

Here's how they turned out:


I think the guys are going to enjoy them. My sister-in-law and I had so much fun doing this that I think we will be getting together to do vases, frames, cups... everything and anything glass.
Also, she called me this morning and said that the groom is jealous that he didn't have one too.

Monday, December 27, 2010

Happy Holidays!

I cannot believe that Christmas 2010 is over and the New Year is only days away. Our Christmas was wonderful, how was yours? (Or the holiday you celebrate this time of year.) Christmas morning was so much fun. The girls couldn't wait and neither could we (me or the hubster). I think the girls were more excited to exchange the gifts they've been trying to sneak a peek at, than the ones from Santa. Because of this we ended up doing the family gifts first and this surprise was part of the family gifts. A loved it so much that when we wanted to open Santa gifts, she kind of-but not totally-threw a tiny fit. M and C thought it was pretty awesome as well. Everyone that came to visit over the weekend was given a personal tour of the playroom and it's new addition by one or all three of the girls. So as promised, here is the post on this pretty cool Christmas gift. Sorry it is kind of long.

Here is a little recap of what I did up until Christmas in order to be ready for the surprise.

Crocheted Cupcakes-pattern Amigurumi World: Seriously Cute Crochet

Crocheted Apples-pattern Amigurumi World: Seriously Cute Crochet


$5.00 Faucet-Habitat for Humanity REStore

Free Entertainment Center-from soon to be brother-in-law

I took all of the above and a little more and turned it all into this.
Play Kitchen-Total Cost: $47.18 supply list at end of post.

Here are a couple pics I used for inspiration, but was NOT going to pay that much for.
Pink Vintage Retro Pretend Play Kitchen$169.99-Amazon
Pink Retro Kitchen and Refrigerator $250.99-Amazon

 
$249.00-$699.00 PB Kids

So...
First, I needed some tools. I needed a jig saw for the sink hole. And since I have wonderful friends, I was able to borrow one. Once I had the jig saw I needed a lesson on how to use it. So...called up dear dad and bribed him with a secret recipe. It worked. He was over here in 2 days and we made the exchange-jig saw lesson for secret recipe-muwhahaha. He must have really wanted that recipe, because as you can see I also learned how to use a holesaw.


Second, we needed to take the entertainment center apart and prime it with adhesion primer.

I had some luan board cut to size at Lowe's for free. I need two pieces: one to replace the glass in the door, and the other to cover the hole behind where the TV used to be.
We then painted everything pink. With the exception of the two small doors and the piece of luan for the glass replacement-these later became "stainless steel appliances".


I used a stainless steel bowl for the sink. Deadbolt locks became the knobs for the burners. Old PlayStation-1 games flipped upside down were used as burners, I painted the center red-so I guess they're always on and ready to cook up something tasty.


We changed the way the doors were hung so that they were more realistic. All hardware got changed from antique gold to brushed nickel.


There is a pantry on one end, which got filled with all the play food after the picture was taken.


And a refrigerator on the other end. This is also stocked and ready. I used a mirror for the "window" and we also put in an old wired telephone.


Supply List:

Entertainment Center-0 (given to us from soon to be brother-in-law)
Material for valance and small curtain-0 (leftover scraps from the curtains in playroom)
Primer-$10 (Sherwin Williams)
Pink Paint-0 (leftover from my craft closet-Sherwin Williams "Childlike")
Hinges-$2.94 (Lowe's-2pk for $1.47)
Burner Knobs aka Deadbolt Locks-$1 (Habitat ReStore-.25/each)
Handles and Knobs-$3.25 (Habitat ReStore)
Burners-0 (Playstation1 games from box in basement)
Sink-$4.99 (Meijer-mixing bowl)
Faucet-$5 (Habitat ReStore-cleaned up with Coca-Cola)
Mirror-$3 (Habitat ReStore)
Glue-0 (E6000 on hand in my stash-used to glue down burners)
Epoxy-$4 (Target-what we used to hang the mirror)
Silver Spray Paint-$3 (Lowes-"Aluminum")
Black and Red Paint-0 (Acrylic paint in my stash-used for burner centers and oven door)
Luan Board-$10 (Lowes-cut for free)
Grand Total: $47.18 savings of at least-$120 not too shabby :)

Have a great day!